
There is nothing better than sun, sand, and surf. Nothing. Did I say nothing? And that is how I feel. I would love to live on the beach with a front window view of the ocean. Unfortunately, that is not where I live. Summertime is here in middle Tennessee and it is plenty hot already, but it is not like being at the beach. So, I will do the next best thing and use a beach theme in the little yellow cottage. This season there are a lot of decorative accessories with a beach theme and many are very inexpensive. That is just my price range.
Thursday morning I was watching the Today show and there was a segment on how to make your house more cottage or beach like. Um hmmm. Just my style. I have been working on our little yellow cottage, making some changes in my decorating style and I have been adding some beach type items. As they panned the set, they showed a fabulous shell wreath that really made me sit up and take notice. The person doing the segment said they had copied it from a wreath costing $150.00. Excuse me? Did you say $150.00? Whoa. They had done a DIY and made their own. Well, the creative juices started flowing immediately and I knew exactly where I could get a lot of shells. Big Lots! Time for a road trip.


Here are my shell finds from Big Lots. I bought two of the $4.00 bags of shells and one of the baskets of six starfish for $6.00. I had an 18 inch straw wreath which cost about $2.00. Time to get out the glue gun, heat it up and start gluing! First, make a hanger on the wreath by putting a piece of wire around the wreath, twisting it and making a loop, twisting again. I visually divided the wreath into north, south, east and west. I laid down a patch of shells at each point and then filled in between the sections. I used as many of the flat shells as I could to cover the top, inside and outside of the wreath leaving no wreath "form" showing. Leave the back of the wreath open with no shells on it so it will lay flat against the wall.
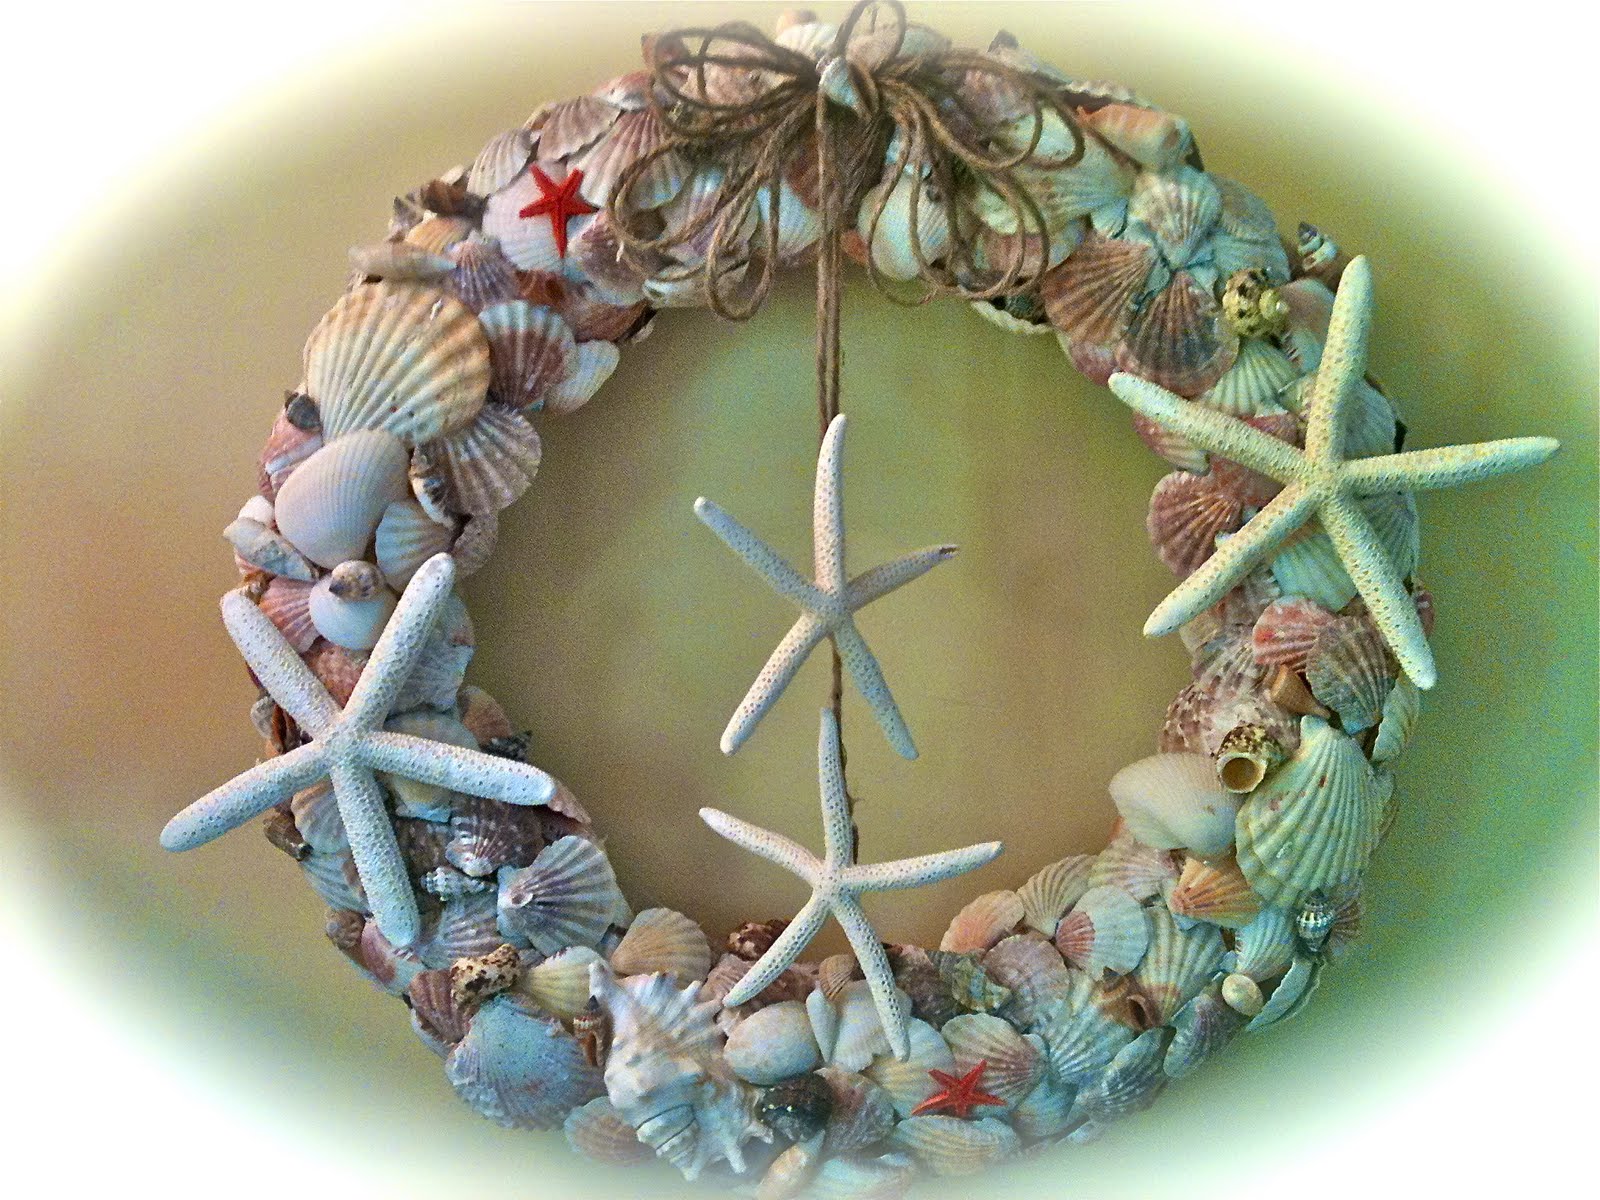
Some of the shells were big and they covered a lot of area. I used the smaller shells to fill in the gaps. It took me about an hour and a half to make the wreath. Once all of the area was covered, I went back and filled in with all of the little decorative shells and added two starfish (as you can see in the picture). I made a "bow" by looping sisal back and forth and tied it in the middle, gluing it to the center of the wreath. I left two long tails on the bow. I cut the tails to different lengths and glued a small starfish onto each length. Below is a picture of what the shells look like close up so you can see how closely I placed them.

After I finished gluing all the shells on, I removed all of the glue "webs" and hung it on the wall. There were just enough shells in the two packages to cover the 18 inch wreath. Could anything make you feel more "beach like"? I don't think so. I had a few starfish left so I placed them in a small basket on the cabinet to continue the theme. One of these days I will post a picture of my mantle, which also has a bit of a shabby chic/beach theme. The wreath helps tie the room together. Things are looking very beachy here in the little yellow cottage and that puts a smile on my face.
For less than $20.00 and a little time, you can make a beautiful shell wreath that can be used year after year. Don't you love saving money? I sure do! Now, if only there were an ocean out my front window.
Everyday Donna
Things to Remember:
"We don't see things as they are, we see them as we are." Anais Nin
No comments:
Post a Comment